Kali ini saya akan membagikan ara install Wireguard di AWS Lightsail. Untuk menggunakan Wiregurad versi Lightsail paling murah $3.5/bulan lebih dari cukup untuk menghandle penggunaan VPN.
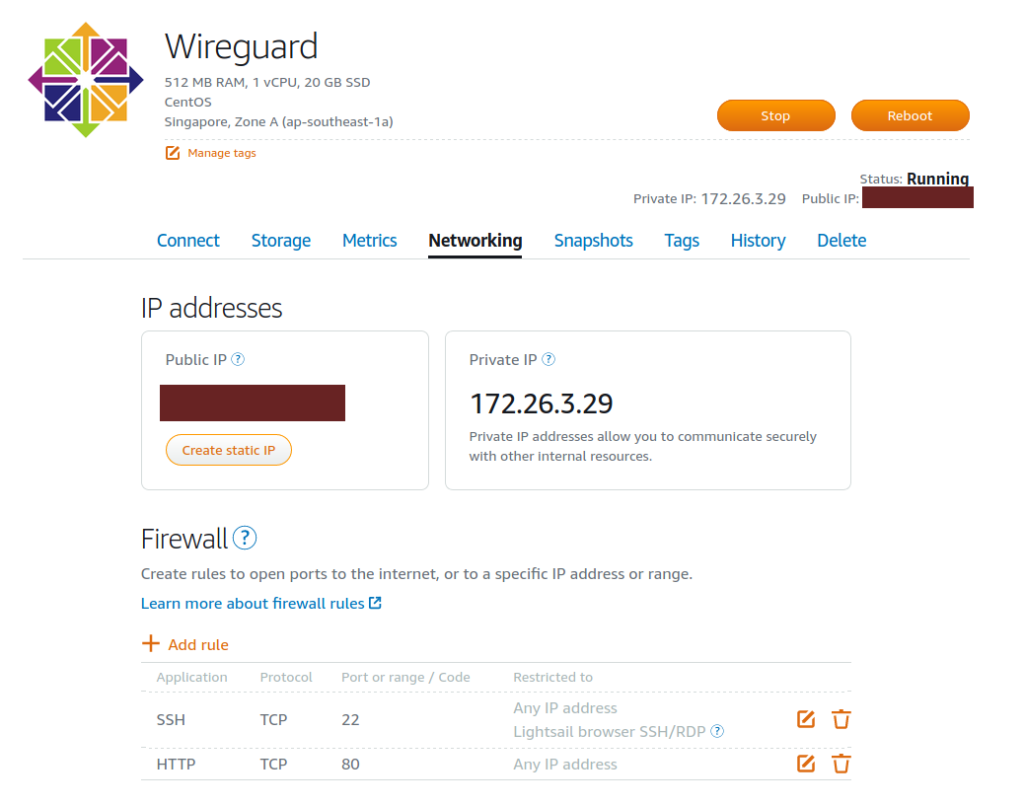
1. Buat Server CentOS 7

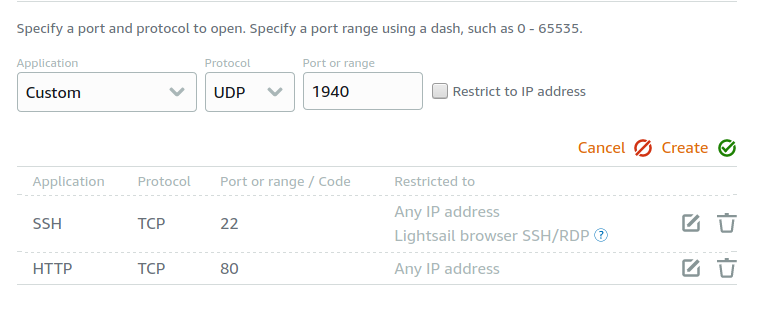
Buka Port Wireguard
Untuk wireguard kita akan menggunakan port 1940 (UDP)
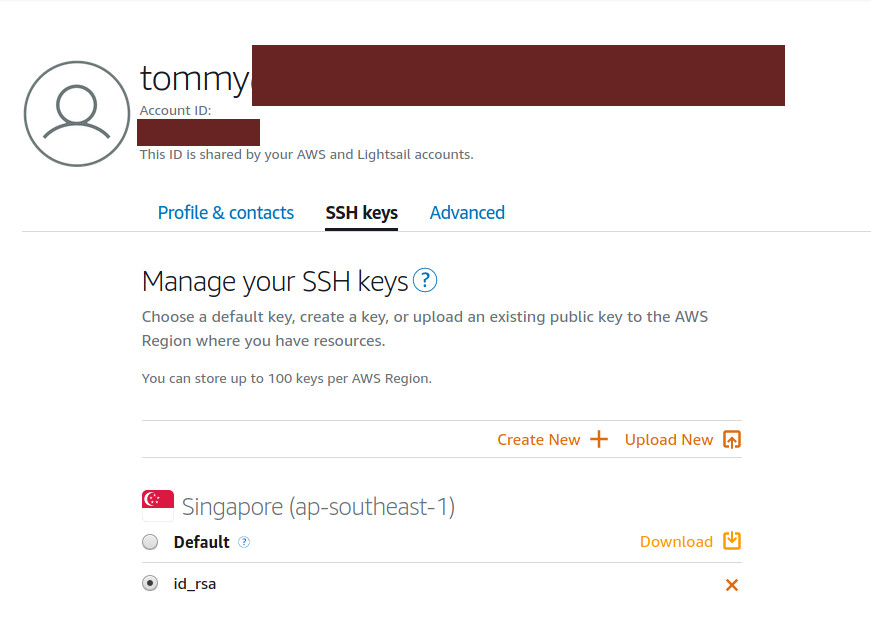
2. Download SSH Key
Agar bisa konek ke server yang baru di install, kita harus menggunakan SSH Key yang baru
3. Login ke server CentOS
ubah permission key yang baru di download
chmod 600 LightsailDefaultKey-ap-southeast-1.pem
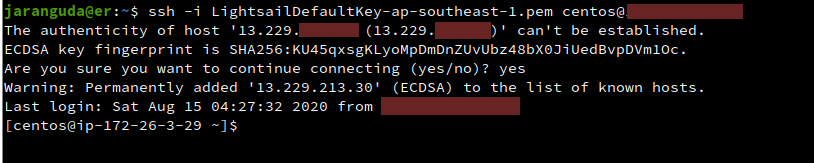
konek ke SSH. Khusus di AWS Lightsail untuk image centos login menggunakan user centos
ssh -i LightsailDefaultKey-ap-southeast-1.pem centos@IP-SERVER
Update CentOS
sudo yum update
Install Repository Epel
sudo yum epel-release -y
Install Repository Wireguard Centos 7
sudo curl -o /etc/yum.repos.d/jdoss-wireguard-epel-7.repo https://copr.fedorainfracloud.org/coprs/jdoss/wireguard/repo/epel-7/jdoss-wireguard-epel-7.repo
Install Wireguard
sudo yum install wireguard-dkms wireguard-tools
Aktifkan Forwarding
Agar client wireguard vpn bisa terhubung ke internet aktifkan IPv4 forward. Disini kita tidak perlu mengaktifkan IPv6 karena Lightsail tidak mendukungnya.
echo "net.ipv4.ip_forward = 1" | sudo tee -a /etc/sysctl.conf
Konfigurasi Wireguard Server
1. Generate Private dan Public Key
umask 077
wg genkey | tee privatekey | wg pubkey > publickey
2. Buat konfigurasi Wireguard Server di /etc/wireguard/wg0.conf
[Interface]
# PrivateKey Server
PrivateKey = OBcUy3pysf1caE/ETEIrgemVGdukiQ8F+ZGk51L36kg=
Address = 10.78.0.1/24
ListenPort = 1940
PostUp = iptables -A FORWARD -i wg0 -j ACCEPT; iptables -t nat -A POSTROUTING -o eth0 -j MASQUERADE;
PostDown = iptables -D FORWARD -i wg0 -j ACCEPT; iptables -t nat -D POSTROUTING -o eth0 -j MASQUERADE;
SaveConfig = true

[Peer]
# PublicKey Client
PublicKey = NdrXkKI2iC3HSQHCLs1biFLSNYuGe0WW4cXTFY8UymQ=
AllowedIPs = 10.78.0.2/32
Reboot Server
sudo rebootAktifkan Wireguard Server
Jalankan wireguard waktu reboot
sudo systemctl enable wg-quick@wg0
jalankan wireguard
sudo systemctl start wg-quick@wg0
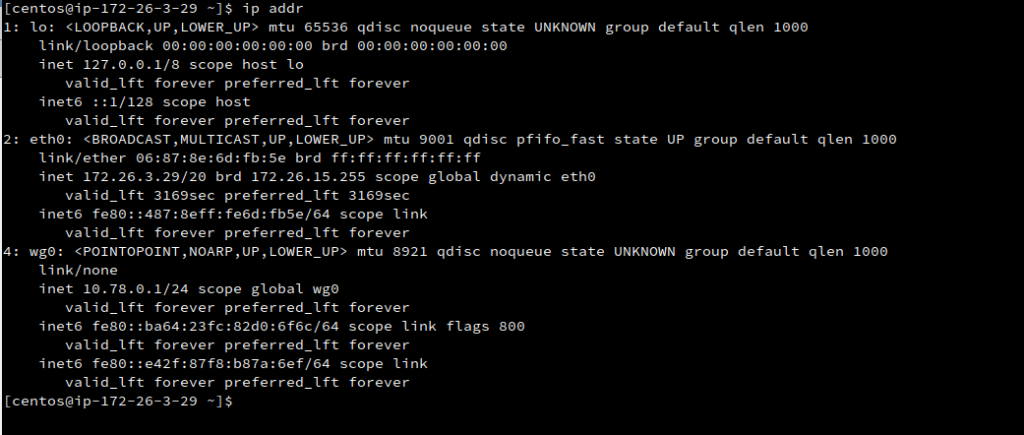
Untuk melihat wireguard sudah aktif jalankan ip addr
Wireguard Client
Install wireguard di client, disini saya menggunakan Fedora 32.
sudo dnf install wireguard
Generate Public dan Private key
umask 077
wg genkey | tee privatekey | wg pubkey > publickey
tambahkan konfigurasi wireguard di /etc/wireguard/wg0c.conf
[Interface]
Address = 10.78.0.2/32
ListenPort = 1940
# private key client
PrivateKey = UIyXHYAEtRjAuNufgwAzys3mPWW9VnRQHrgYFdudOmc=

[Peer]
# public key server
PublicKey = owZl6Dcw+1l8VashzSbytjGBtE//j66Am7N5WRxrqRY=
AllowedIPs = 0.0.0.0/0
# IP Public Server
Endpoint = 127.0.0.1:1940
Jalankan wireguard
sudo wg-quick up wg0cTes IP anda, pastikan outputnya IP Server anda
curl https://ip.jaranguda.comlalu coba browsing beberapa situs random.