Server yang akan di install sebagai VPN Server ini hanya menjalankan service VPN, bila anda menggunakan untuk web hosting dan kebutuhan lainnya bisa disesuaikan perintah-perintah yang digunakan, terutama sewaktu setting SSL.
Kebutuhan :
– Arahkan A record IP Cloud Server anda ke subdomain contoh (vpn.jaranguda.com), untuk kebutuhan SSL dan access dari client
– CentOS 7
Update system CentOS
yum update -y
Install EPEL Repository
yum install epel-release -y
Install Strongswan
yum install strongswan -y
hapus rules iptables
iptables -FInstall SSL
Install git
yum install git -y
Cloning repository acme.sh
cd ~
git clone https://github.com/Neilpang/acme.sh.git
Generate SSL
~/acme.sh/acme.sh --issue --standalone -d vpn.jaranguda.com
bila berhasil dibagian paling bawah muncul
[Mon Mar 18 09:46:08 WIB 2019] Your cert key is in /root/.acme.sh/vpn.jaranguda.com/vpn.jaranguda.com.key
[Mon Mar 18 09:46:08 WIB 2019] The intermediate CA cert is in /root/.acme.sh/vpn.jaranguda.com/ca.cer
[Mon Mar 18 09:46:08 WIB 2019] And the full chain certs is there: /root/.acme.sh/vpn.jaranguda.com/fullchain.cer
Konfigurasi Strongswan
Hapus seluruh isi file /etc/strongswan/ipsec.conf, gantikan dengan
config setup
    charondebug="ike 1, knl 1, cfg 0"
    uniqueids=no

conn vpn-jaranguda
    auto=add
    compress=no
    type=tunnel
    keyexchange=ikev2
    fragmentation=yes
    forceencaps=yes
    dpdaction=clear
    dpddelay=300s
    rekey=no
    left=%any
    leftid=@vpn.jaranguda.com
    leftcert=vpn.jaranguda.com.cer
    leftsendcert=always
    leftsubnet=0.0.0.0/0
    right=%any
    rightid=%any
    rightauth=eap-mschapv2
    rightsourceip=10.15.1.0/24
    rightdns=1.1.1.1,8.8.8.8
    rightsendcert=never
    eap_identity=%identity
Hapus file /etc/strongswan/ipsec.secrets, ganti dengan
 : RSA vpn.jaranguda.com.key
jaranguda : EAP "jaranguda123"
Copy Sertifikat SSL, Key dan Intermediate CA
cp /root/.acme.sh/vpn.jaranguda.com/fullchain.cer /etc/strongswan/ipsec.d/certs/vpn.jaranguda.com.cer
cp /root/.acme.sh/vpn.jaranguda.com/ca.cer /etc/strongswan/ipsec.d/cacerts/
cp /root/.acme.sh/vpn.jaranguda.com/vpn.jaranguda.com.key /etc/strongswan/ipsec.d/private/
restart strongswan
systemctl restart strongswan
Aktifkan IP Forwardingecho 'net.ipv4.ip_forward = 1' > /etc/sysctl.conf
# jalankan perubahan diatas
sysctl -p
echo 'net.ipv4.ip_forward = 1' > /etc/sysctl.conf
# jalankan perubahan diatas
sysctl -p
Aktifkan Firewall dan NAT
firewall-cmd --zone=public --permanent --add-rich-rule='rule protocol value="esp" accept'
firewall-cmd --zone=public --permanent --add-rich-rule='rule protocol value="ah" accept'
firewall-cmd --zone=public --permanent --add-port=500/udp
firewall-cmd --zone=public --permanent --add-port=4500/udp
firewall-cmd --zone=public --permanent --add-service="ipsec"
firewall-cmd --zone=public --permanent --add-masquerade
firewall-cmd --reload
Tes Koneksi : Android
Download aplikasi Strongswan dari Play Store
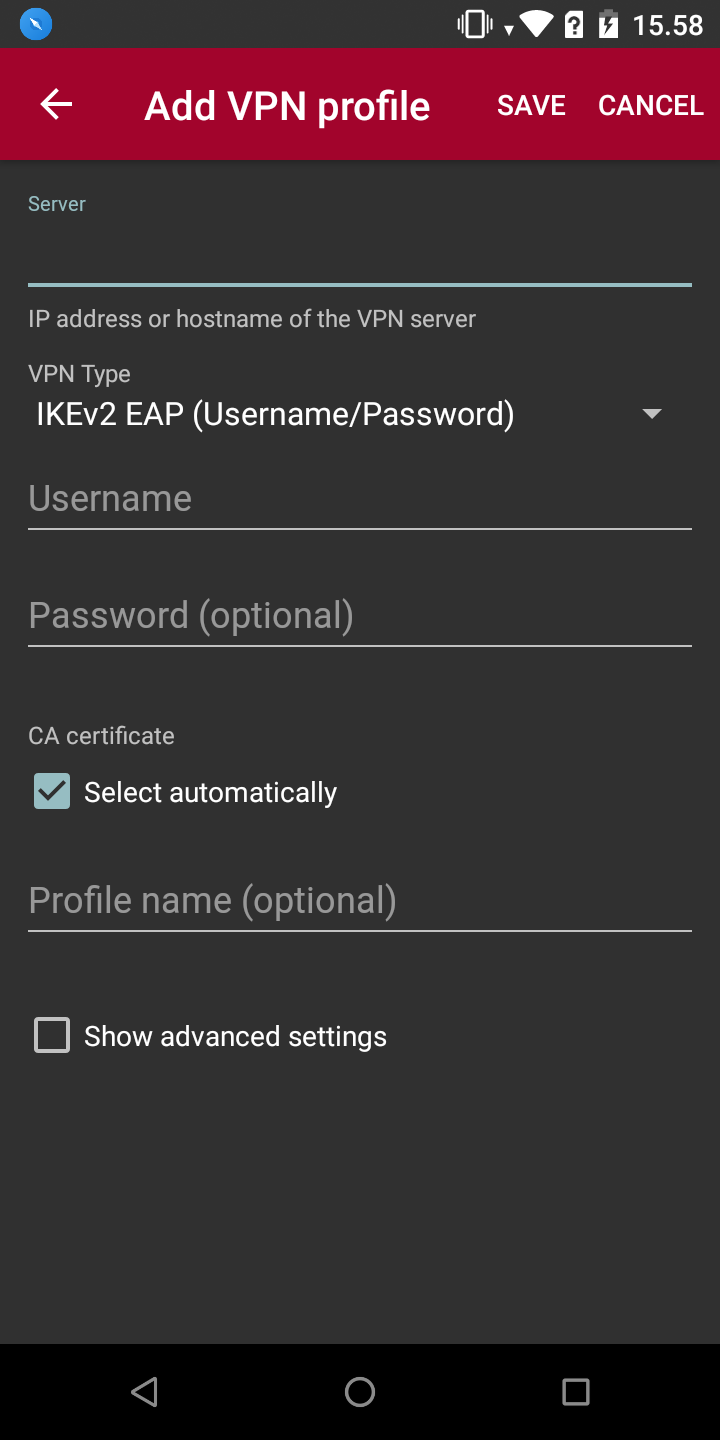
Buka aplikasi Strongwan, pilih Add VPN Profile
VPN Type : IKEv2 (Username/Password)
Username : jaranguda
Password : jaranguda123
pilih Show advanced setting, di server identity isi vpn.jaranguda.com (sesuai dengan domain yang digenerate sebelumnya)
Server identity : vpn.jaranguda.com
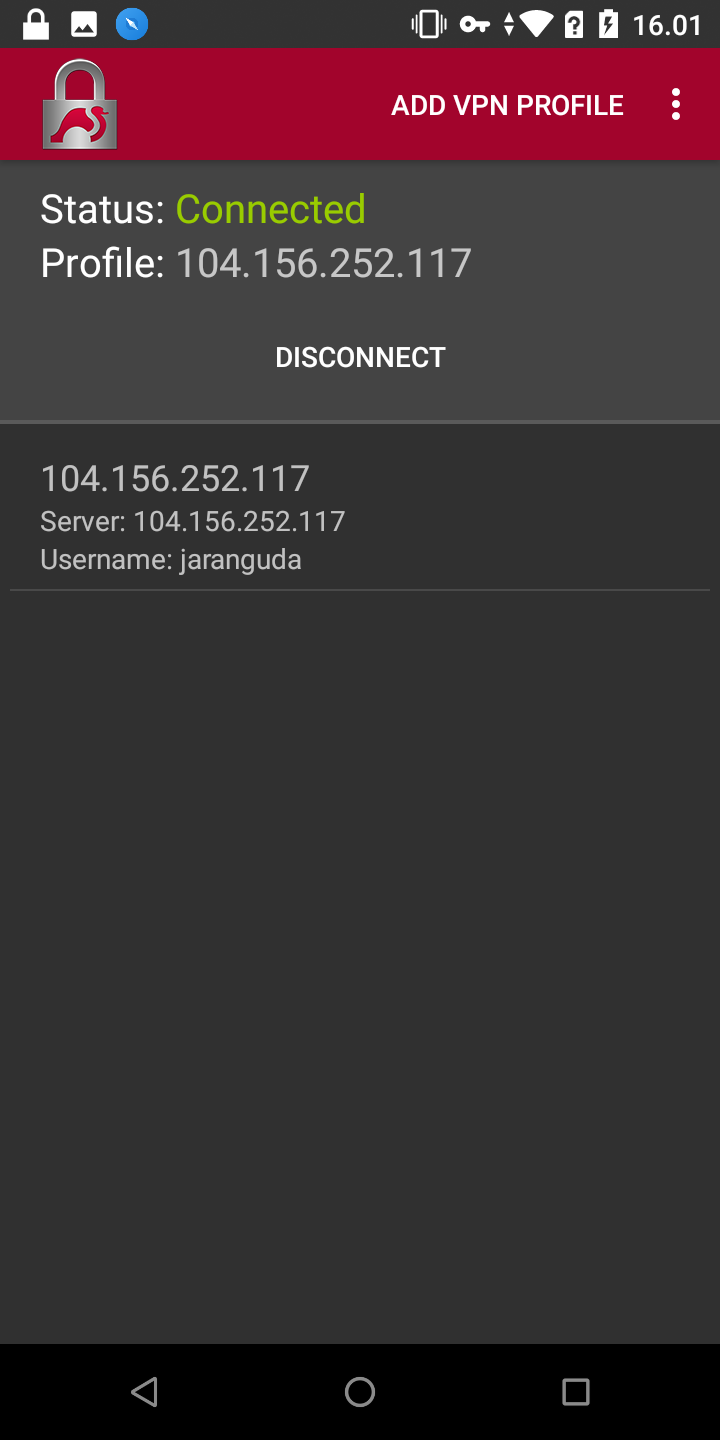
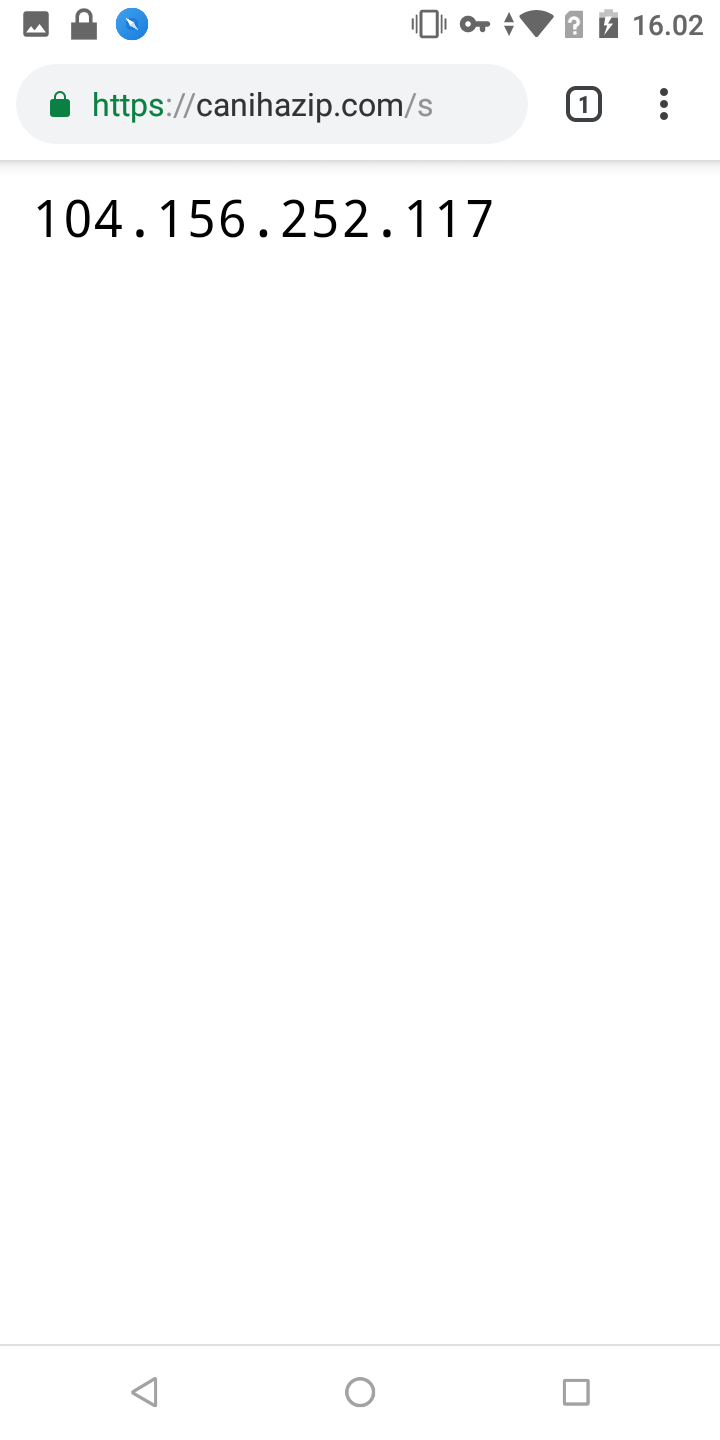
tekan SAVE, lalu tes koneksi.