Untuk memudahkan tutorial ini saya akan menggunakan domain owncloud.jaranguda.com. Ingat untuk mengarahkan A record DNS ke IP Server anda.

Install MySQL Server
apt-get install mysql-server -y
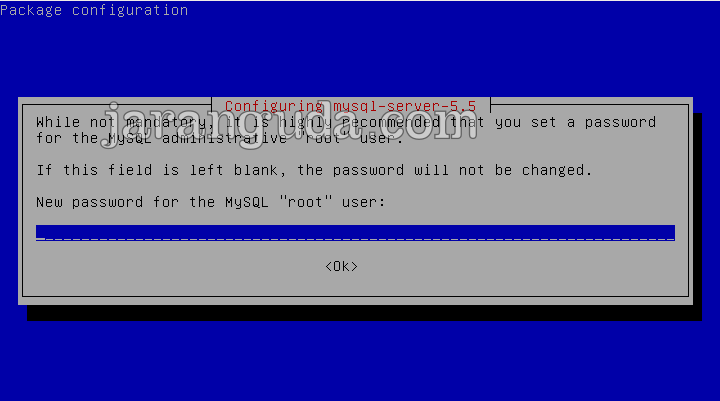
Buat password root untuk MySQL anda
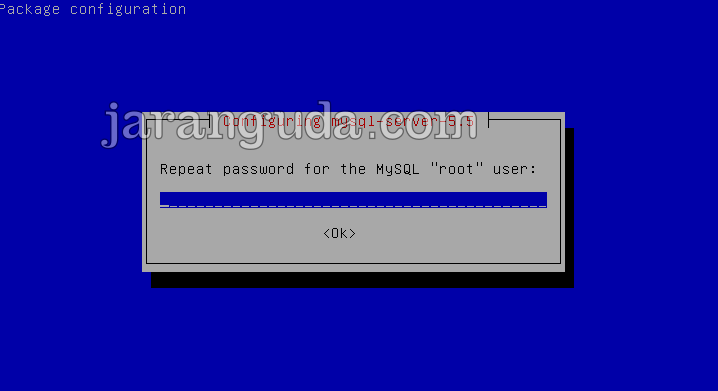
masukkan sekali lagi
buat database untuk owncloud
create database owncloud;
GRANT ALL PRIVILEGES ON owncloud.* TO "owncloud"@"localhost" IDENTIFIED BY "eJrwt3gbdVtbWWYgPwro";
Database : owncloud
User : owncloud
Password : eJrwt3gbdVtbWWYgPwro
Install PHP 7.1
apt-get install php7.1 php7.1-cli php7.1-common php7.1-gd php7.1-xmlrpc php7.1-fpm php7.1-curl php7.1-intl php7.1-mcrypt php7.1-imagick php7.1-mysqlnd php7.1-zip php7.1-xml php7.1-mbstring -y
Install Webserver NGINX
apt-get install nginx -y
edit file /etc/nginx/nginx.conf
ubah
user nginx;menjadi
user www-data;
Folder tempat menyimpan owncloud
mkdir /var/www
cd /var/www
wget https://download.owncloud.org/community/owncloud-10.0.2.zip
unzip owncloud-10.0.2.zip
chown www-data:www-data -R /var/www/owncloud
Buat file /etc/nginx/conf.d/owncloud.jaranguda.com.conf
server {
    listen       80;
    server_name  owncloud.jaranguda.com;
    root /var/www/owncloud/;

    location / {
        rewrite ^/remote/(.*) /remote.php last;
        rewrite ^(/core/doc/[^\/]+/)$ $1/index.html;
        try_files $uri $uri/ =404;
    }

    location ~ \.php(?:$|/) {
        fastcgi_split_path_info ^(.+\.php)(/.+)$;
        include fastcgi_params;
        fastcgi_param SCRIPT_FILENAME $document_root$fastcgi_script_name;
        fastcgi_param PATH_INFO $fastcgi_path_info;
        fastcgi_param HTTPS on;
        fastcgi_param modHeadersAvailable true; #Avoid sending the security headers twice
        fastcgi_pass unix:/run/php/php7.1-fpm.sock;
        fastcgi_intercept_errors on;
    }
}
restart nginx
systemctl restart nginx
Install SSL Lets Encrypt
Install certbot
echo "deb http://ftp.debian.org/debian jessie-backports main" >> /etc/apt/sources.list
apt-get update
apt-get install certbot python-ndg-httpsclient -t jessie-backports -y
Request SSL
certbot certonly --webroot -w /var/www/owncloud/ -d owncloud.jaranguda.com
Yang perlu di input
1. Enter email address (used for urgent renewal and security notices) (Enter ‘c’ to
cancel): owncloud@jaranguda.com
2. (A)gree/(C)ancel: A

buka file /etc/nginx/conf.d/owncloud.jaranguda.com.conf dibagian paling bawah tambahkan
server {

    listen 443 http2;
    ssl    on;

    server_name  owncloud.jaranguda.com;
    root /var/www/owncloud/;

    location / {
        rewrite ^/remote/(.*) /remote.php last;
        rewrite ^(/core/doc/[^\/]+/)$ $1/index.html;
        try_files $uri $uri/ =404;
    }

    location ~ \.php(?:$|/) {
        fastcgi_split_path_info ^(.+\.php)(/.+)$;
        include fastcgi_params;
        fastcgi_param SCRIPT_FILENAME $document_root$fastcgi_script_name;
        fastcgi_param PATH_INFO $fastcgi_path_info;
        fastcgi_param HTTPS on;
        fastcgi_param modHeadersAvailable true; #Avoid sending the security headers twice
        fastcgi_pass unix:/run/php/php7.1-fpm.sock;
        fastcgi_intercept_errors on;
    }

    ssl_certificate    /etc/letsencrypt/live/owncloud.jaranguda.com/fullchain.pem;
    ssl_certificate_key    /etc/letsencrypt/live/owncloud.jaranguda.com/privkey.pem;

}
Ingat untuk mengganti server_name dan lokasi /etc/letsencrypt/live/owncloud.jaranguda.com sesuaikan dengan domain anda.
restart nginx
systemctl restart nginx
Install owncloud
Buka http://subdomain.domain.com atau http://IP.SERVER/
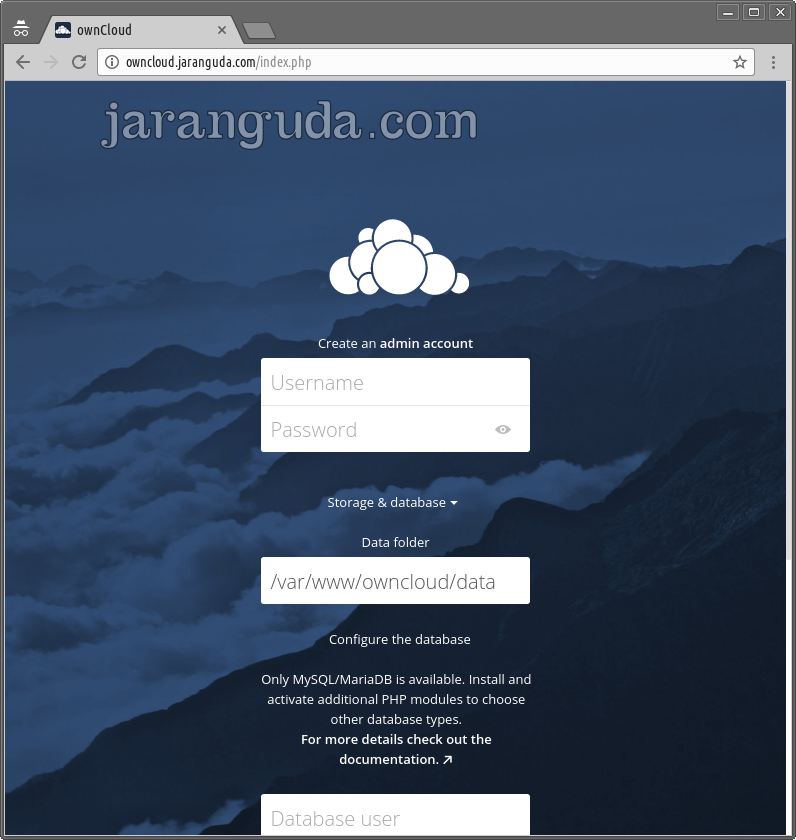
Isikan semua inputan
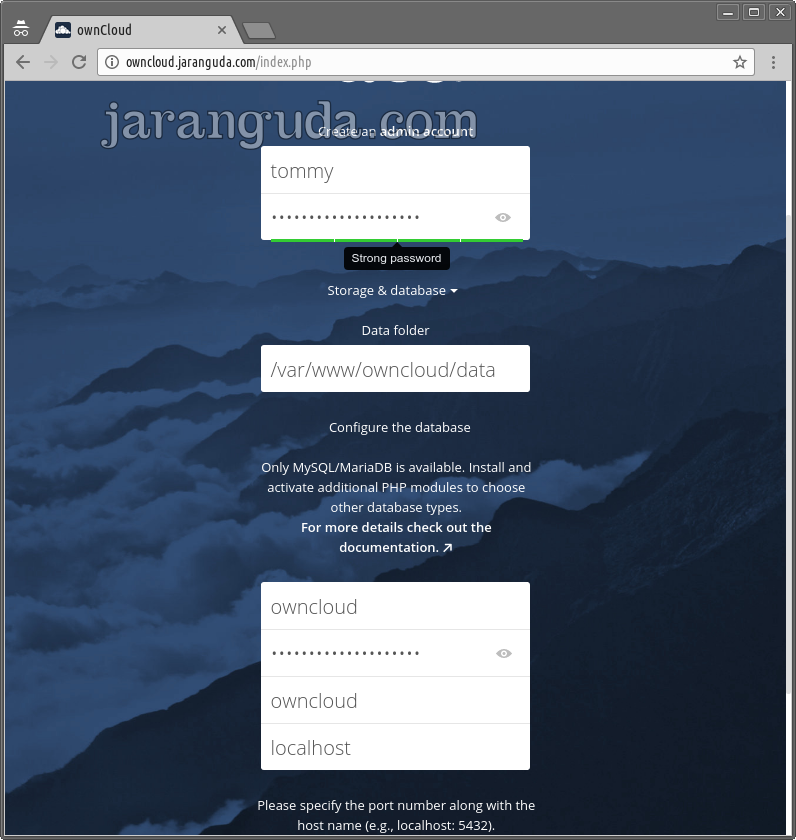
Untuk user yang akan dibuat disini otomatis menjadi admin. Username, Password, Database lihat diatas seperti yang kita buat sebelumnya.
Akhiri dengan mengklik Finish.
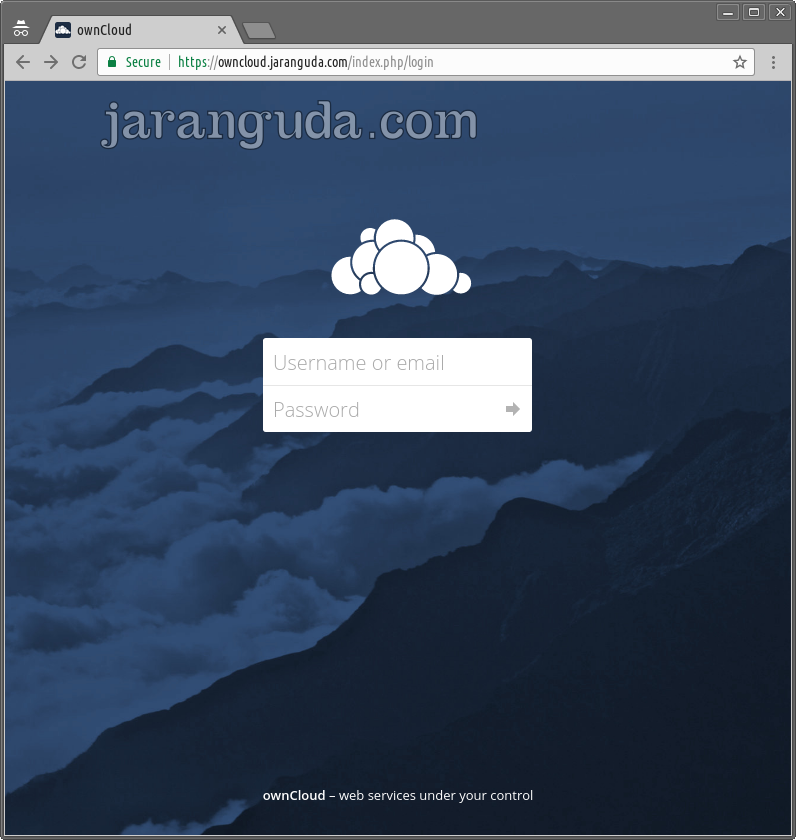
Halaman Login Owncloud