Ditutorial ini kita akan menggunakan google auth, untuk login user di Laravel 6. Mengijinkan user login dengan aku gmail yang dimilikinya, membuat proses pendaftaran user semakin singkat, karena data yang kita butuhkan bisa diambil dari Google. Kedepannya untuk login, user cukup menggunakan gmail, tidak perlu menghapal password khusus untuk website yang baru ;).
Ambil Credential Google
Buka https://console.developers.google.com, jika belum memiliki akun google anda akan diminta mendaftar akun baru.
Bila belum pernah mendaftarkan API google, anda akan diminta membuat Project baru
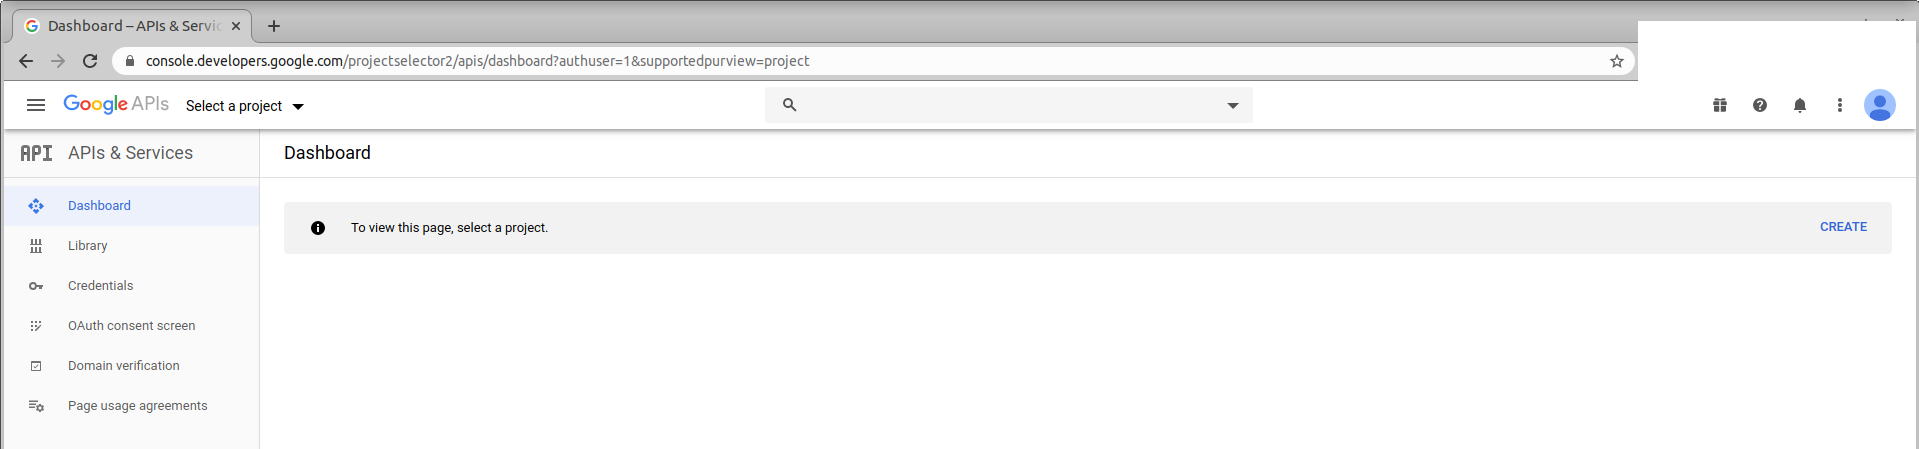
klik Create untuk membuat project baru

klik Create
Isi Project name
Oauth Consent
Peruntukan API ini bisa diset di Oauth consent.
Klik Oauth consent screen
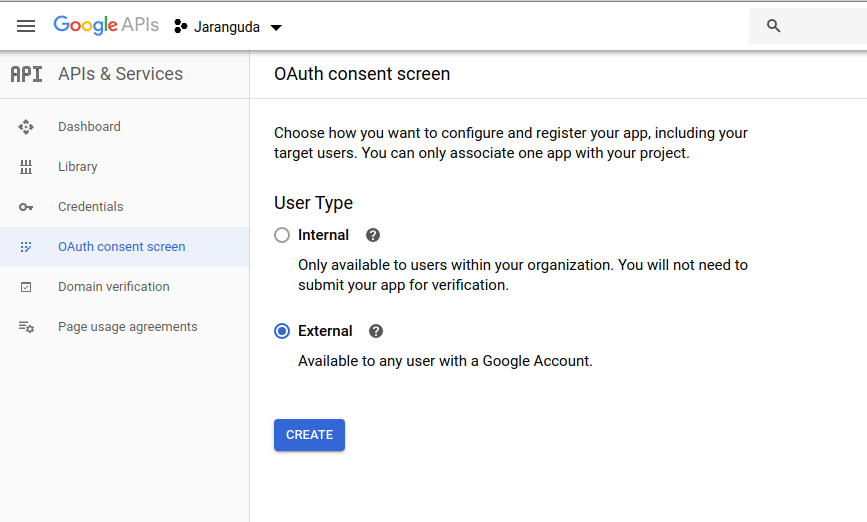
User Type : External
klik Create
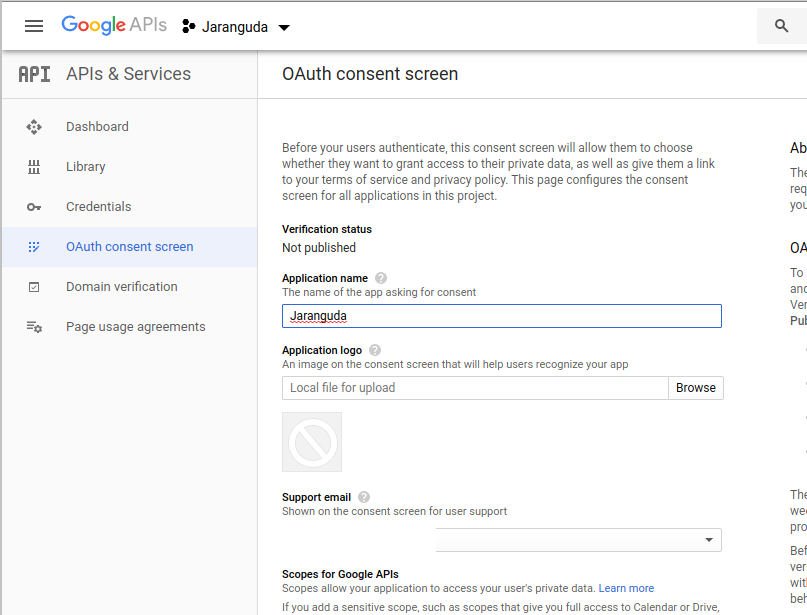
Isi Application name : Jaranguda
Credentials
klik menu Credentials. klik Create Credentials -> OAuth client id
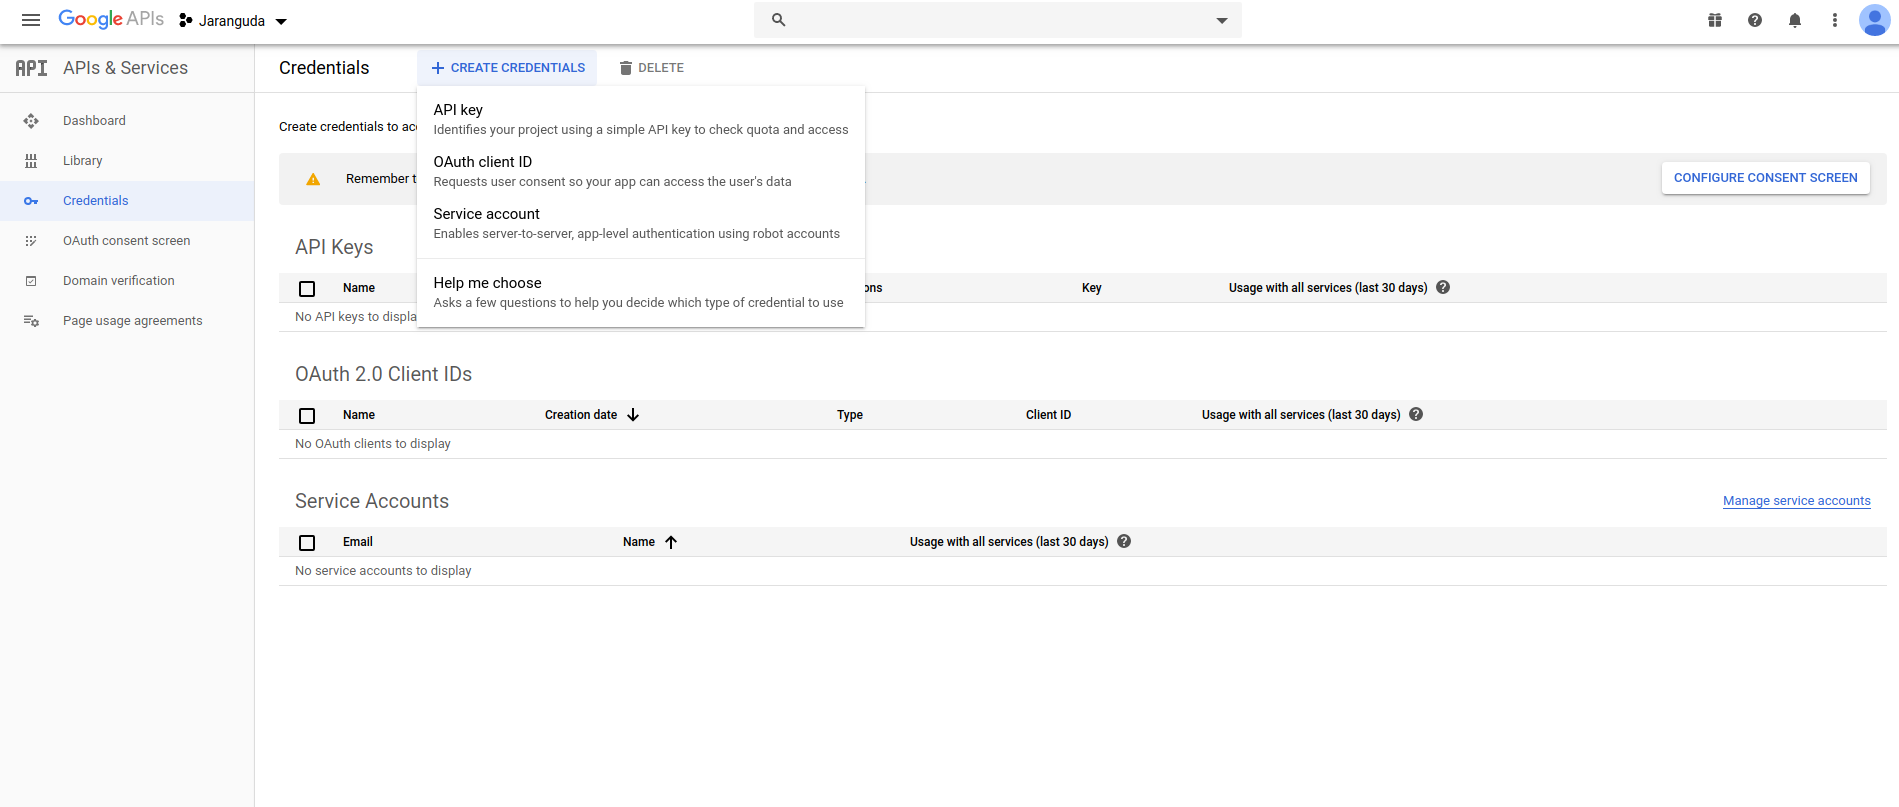
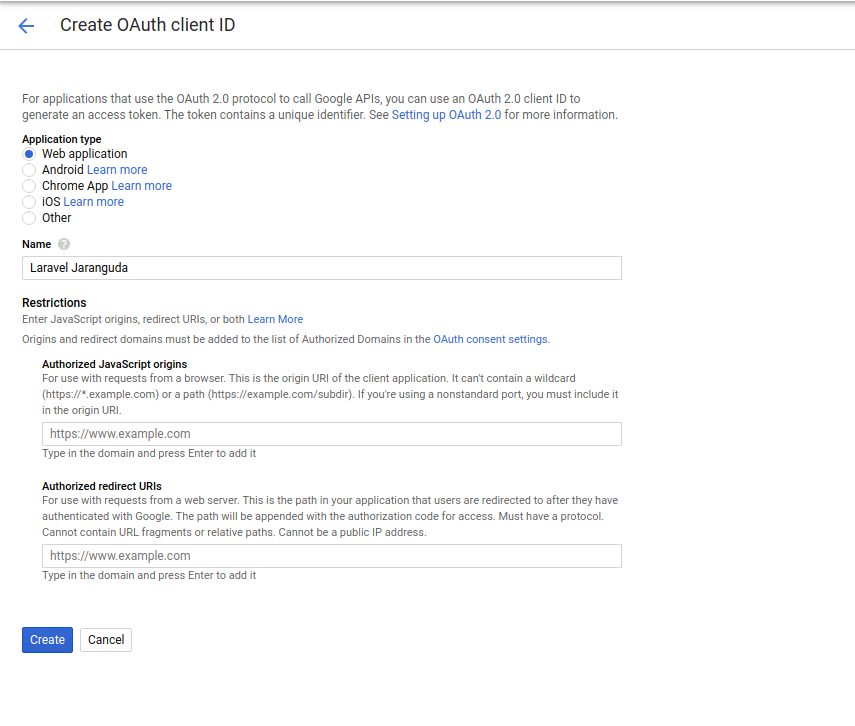
Pilih Web Application
Yang perlu di isi
Authorized redirect URIs : http://127.0.0.1:8000/callback/google
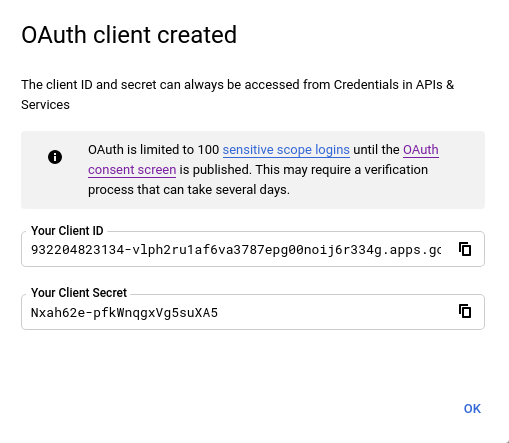
klik Create
URL http://127.0.0.1:8000/callback/google, sesuaikan dengan URL yang digunakan untuk di development atau production.
nanti muncul OAuth credential. Simpan Client ID dan Client Secret.
Install Laravel
install laravel 6 dengan composer
composer create-project --prefer-dist laravel/laravel laravel
Setting .env untuk Database
DB_CONNECTION=mysql
DB_HOST=127.0.0.1
DB_PORT=3306
DB_DATABASE=laravel
DB_USERNAME=jaranguda
DB_PASSWORD=jarangudaaja
sesuaikan dengan credential yang anda miliki.
Laravel Auth
Aktifkan authentication laravel
composer require laravel/ui
php artisan ui bootstrap --auth
lalu jalankan npm
npm install && npm run dev
Laravel Socialite
Untuk menghubungkan dengan Google API kita akan menggunakan Socialite, official project dari Laravel. Install dengan
composer require laravel/socialiteUntuk membedakan antar akun google, kita akan mengambil id dari respond Google, disimpan kedalam kolom google_id
Buat migration untuk menambahkan google_id di table users
php artisan make:migration add_google_to_users_table
buka table migration yang ada di database/migrations/####.add_google_to_users_table.php, ubah menjadi
<?php

use Illuminate\Database\Migrations\Migration;
use Illuminate\Database\Schema\Blueprint;
use Illuminate\Support\Facades\Schema;

class AddGoogleToUsersTable extends Migration
{
    /**
     * Run the migrations.
     *
     * @return void
     */
    public function up()
    {
        Schema::table('users', function (Blueprint $table) {
            $table->string('google_id')->nullable();
        });
    }

    /**
     * Reverse the migrations.
     *
     * @return void
     */
    public function down()
    {
        Schema::table('users', function (Blueprint $table) {
            //
        });
    }
}
User Model
Karena kita menambahkan google_id, maka sekarang ubah model app/User.php, dibagian $fillable menjadi
    protected $fillable = [
        'name', 'email', 'password', 'google_id'
    ];
Migration
Agar database untuk auth user dibuat, kita jalankan migration.
php artisan migrate
Google API Credential
Konfigurasi untuk credential Google API disimpan di config/services.php, buka config/services.php tambahkan dibawah SES
    'google' => [
        'client_id' => '',
        'client_secret' => '',
        'redirect' => 'http://127.0.0.1:8000/google/callback',
    ],
isi dengan credential dari google pada tahap pertama.
Routes
Buat route, untuk mengelola proses authentication. Buka routes/web.php dibaris paling bawah tambahkan
Route::get('google', 'GoogleController@redirect');
Route::get('google/callback', 'GoogleController@callback');
Buat Controller
setelah route dibuat, kita buat controller untuk menghandle routes tersebut. Generate template controller dengan artisan
php artisan make:controller GoogleController
ubah app/Http/Controllers/GoogleController.php menjadi
<?php

namespace App\Http\Controllers;

use Illuminate\Http\Request;
use Auth;
use Socialite;
use App\User;

class GoogleController extends Controller
{
    public function redirect()
    {
        return Socialite::driver('google')->redirect();
    }

    public function callback()
    {

        // jika user masih login lempar ke home
        if (Auth::check()) {
            return redirect('/home');
        }

        $oauthUser = Socialite::driver('google')->user();
        $user = User::where('google_id', $oauthUser->id)->first();
        if ($user) {
            Auth::loginUsingId($user->id);
            return redirect('/home');
        } else {
            $newUser = User::create([
                'name' => $oauthUser->name,
                'email' => $oauthUser->email,
                'google_id'=> $oauthUser->id,
                // password tidak akan digunakan ;)
                'password' => md5($oauthUser->token),
            ]);
            Auth::login($newUser);
            return redirect('/home');
        }
    }
}
Login View
View untuk login berada di resources/views/auth/login.blade.php, buka file tersebut dibagian
<div class="form-group row mb-0">
    <div class="col-md-8 offset-md-4">
        <button type="submit" class="btn btn-primary">
            {{ __('Login') }}
        </button>
        @if (Route::has('password.request'))
        <a class="btn btn-link" href="{{ route('password.request') }}">
            {{ __('Forgot Your Password?') }}
        </a>
        @endif
    </div>
</div>
ubah menjadi
<div class="form-group row mb-0">
    <div class="col-md-8 offset-md-4">
        <button type="submit" class="btn btn-primary">
            {{ __('Login') }}
        </button>
        <a href="{{ url('google') }}" class="btn btn-primary">
            Login with Google
        </a>

        @if (Route::has('password.request'))
        <a class="btn btn-link" href="{{ route('password.request') }}">
            {{ __('Forgot Your Password?') }}
        </a>
        @endif
    </div>
</div>
Sampai disini semua persiapan sudah selesai, sekarang waktunya testing.
Testing Google Auth
Jalankan server laravel
php artisan serve
# output
Laravel development server started: http://127.0.0.1:8000
Lalu buka http://127.0.0.1:8000
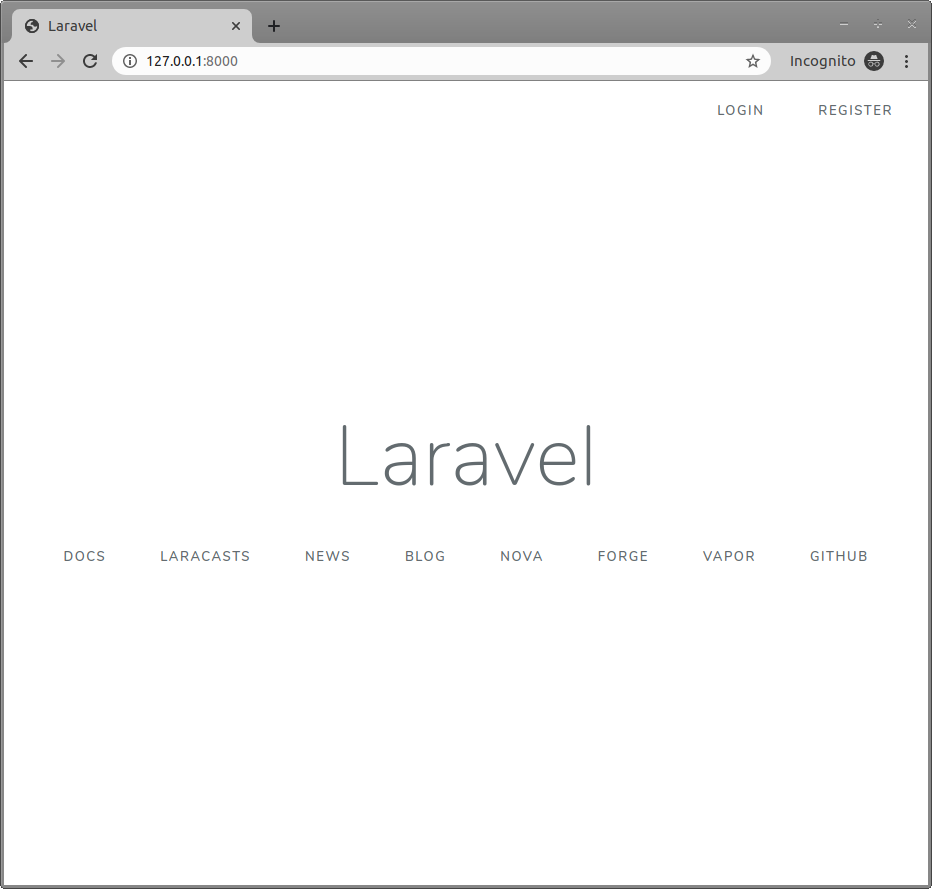
klik Login.
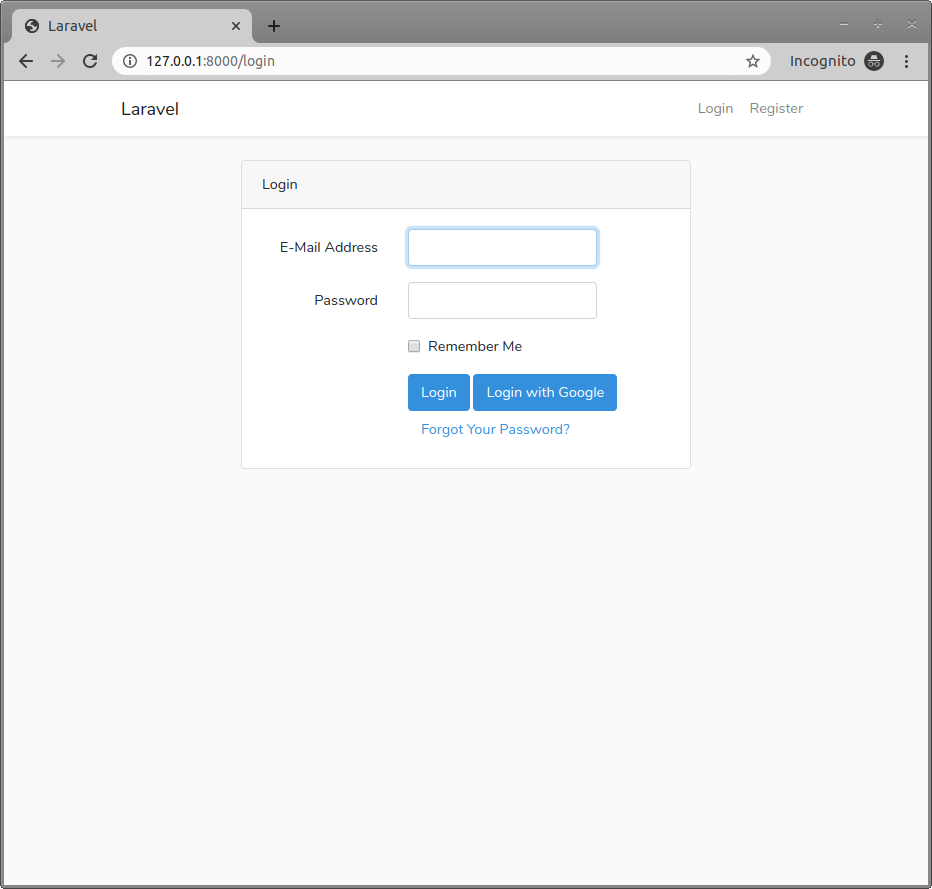
klik Login with Google
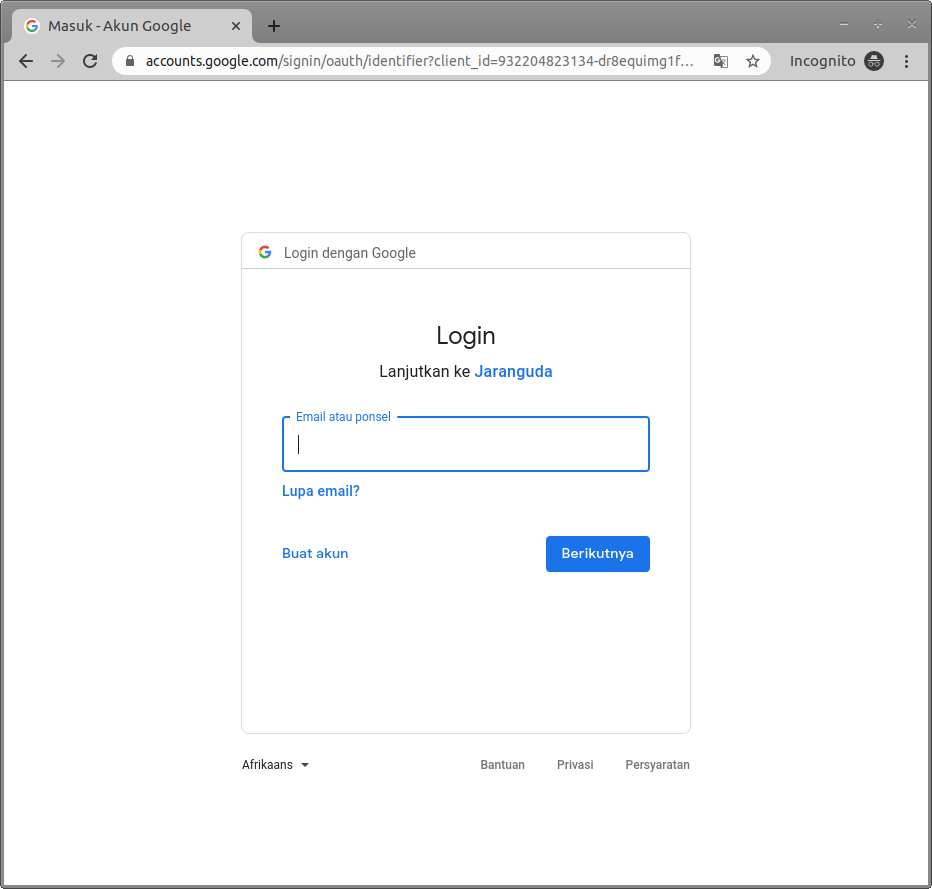
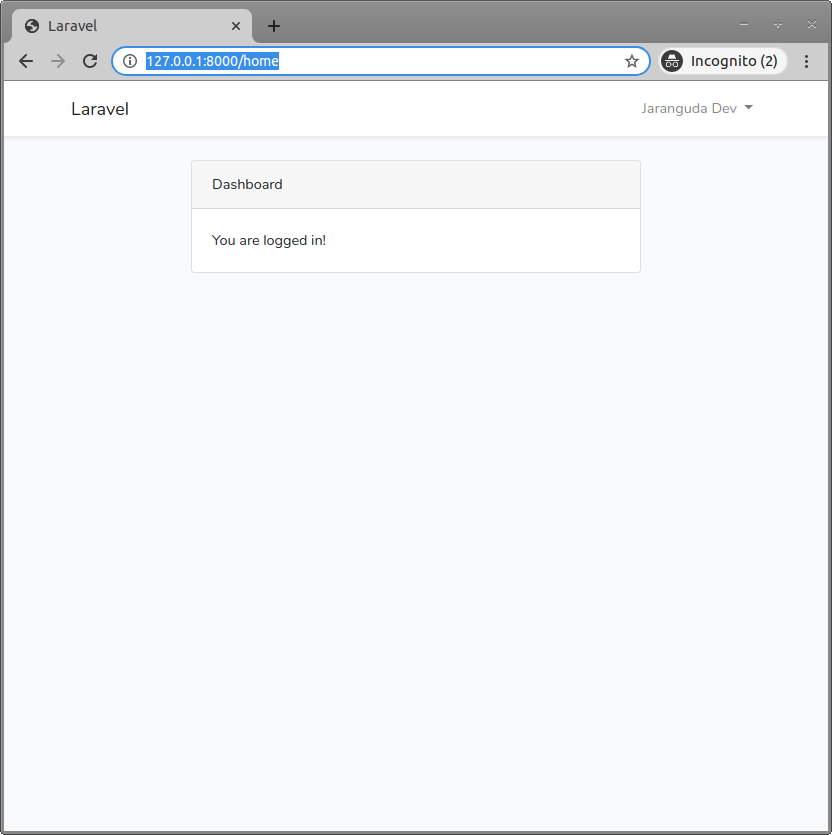
Setelah selesai login. anda akan dibawa ke http://127.0.0.1:8000/home